When I am in need of comfort, I usually turn to a Peanut Butter and Jelly sandwich. When I eat a peanut butter and jelly sandwich today, cliche as it sounds, evoked are the memories of packed school lunches, the messages in jam and jelly my mom used to write in the sandwiches or the smiley faces made with raisins.
Warmth, love and a simpler time.
Lately, I've been all out of sorts and have been trying to keep in mind that life throws you curve balls, and you can either let it hit you in the head, or catch it and chuck it to the appropriate baseman (see there, I used a baseball analogy).
When I am in need of comfort, I usually turn to a Peanut Butter and Jelly sandwich. When I eat a peanut butter and jelly sandwich today, cliche as it sounds, evoked are the memories of packed school lunches, the messages in jam and jelly my mom used to write in the sandwiches or the smiley faces made with raisins.
Warmth, love and a simpler time.
Lately, I've been all out of sorts and have been trying to keep in mind that life throws you curve balls, and you can either let it hit you in the head, or catch it and chuck it to the appropriate baseman (see there, I used a baseball analogy).So what better way to deal with missing catches than to eat some peanut butter and jelly! In this instance, I decided to adapt this comforting treat into an easily shared bar, modified from the recipe published by Bon Appétit. In this case modification means that I didn't have all their ingredients and needed to improvise, and as you all know necessity is the mother of invention!
Peanut Butter and Jelly Bars with Chocolate Chips
Ingredients
1 cup wholewheat flour
1/2 cup all purpose flour
1/2 teaspoon of baking powder
1/4 teaspoon salt
3/4 cup natural peanut butter, smooth
1/2 cup dark brown sugar
1/4 cup sugar
1/2 cup butter flavored shortening
1 large egg
1 teaspoon good vanilla extract
3/4 cup of raspberry jam (or whatever jam/jelly you like)
2/3 cup of chocolate chips
Directions
Preheat your oven to 350 degs Fahrenheit. Line your baking pan (8x8 is the one I used) with aluminium foil and then grease the foil.
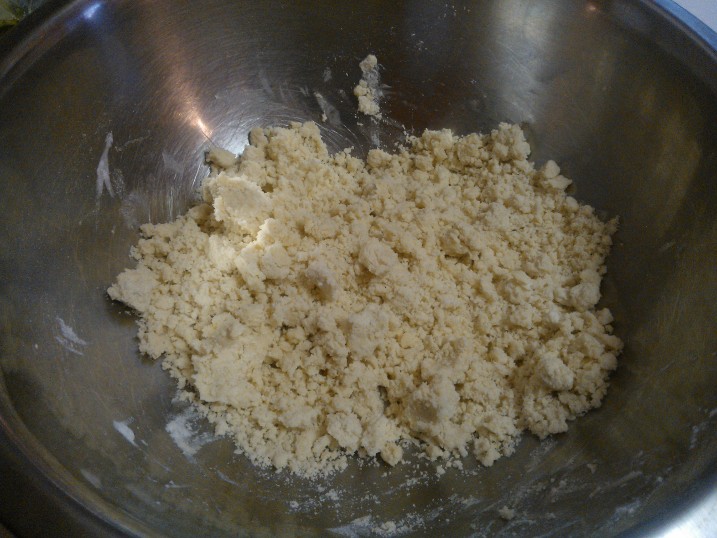
In a small bowl, mix flours, baking powder and salt. In another bowl, using a mixer, beat peanut butter, sugar and shortening. Add egg and vanilla and beat until smooth. Add flour mixture to the peanut butter and beat on low speed to just blend.
Take half the dough and press it into the bottom of the pan as evenly as possible. Put the rest of the dough in the freezer for 10 minutes. Spread the jelly over the pressed dough as evenly as possible. When 10 minutes have passed, remove the now chilled remaining dough and break into large pieces, about the size of grapes. Sprinkle remaining broken up dough onto the jelly layer. Press slightly and then sprinkle chocolate chips on top of that layer* (you can also used chopped peanuts or other nuts).
Bake until golden brown, about 30 minutes. Remove and cool completely before de-foiling. You can then cut it into squares and dunk a piece into a large cold glass of milk. Ahhh...memories!
*the chocolate adds that next level of flavor that works so well with peanut butter. I mean, Reese's knows what they are doing.